巫师3:狂猎MOD 现实的滤镜
MOD介绍:
简单介绍:
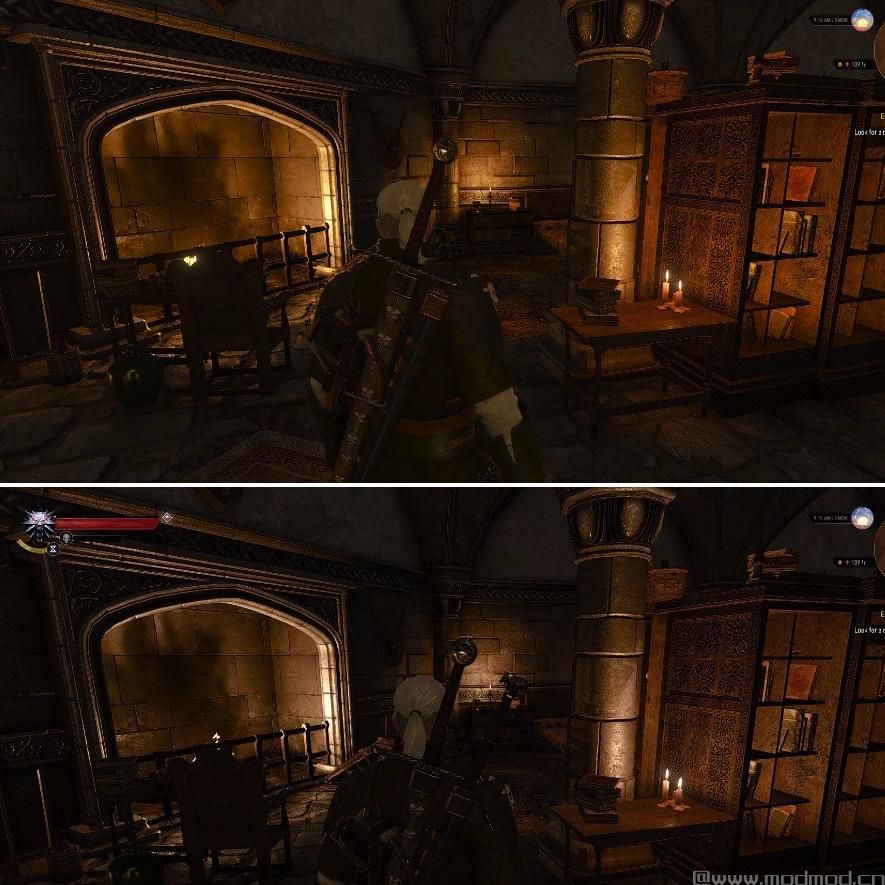
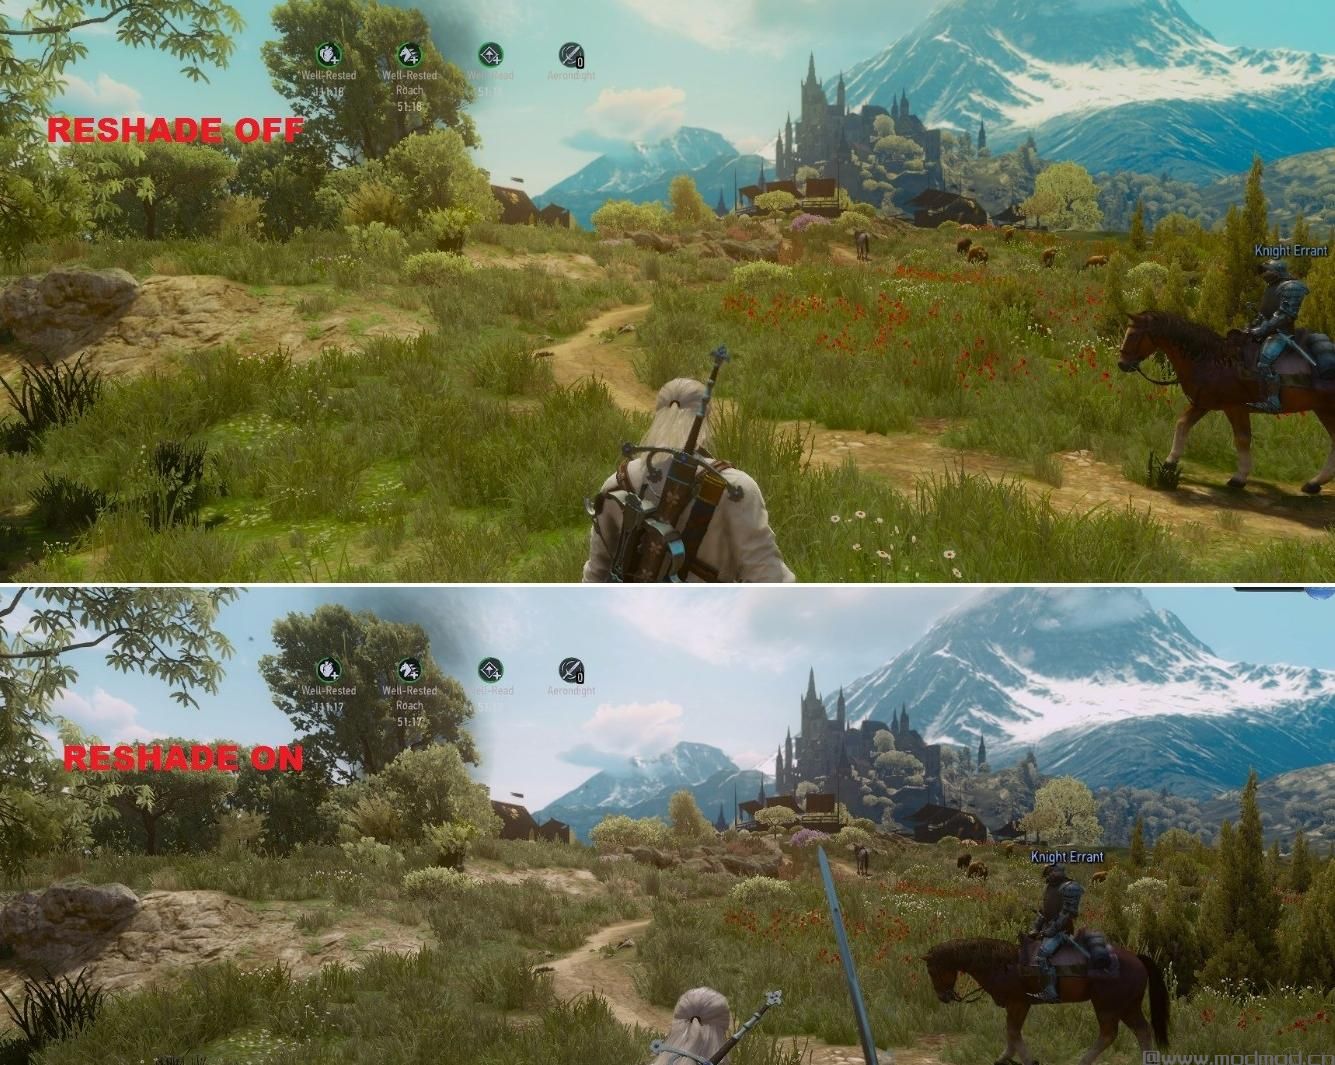
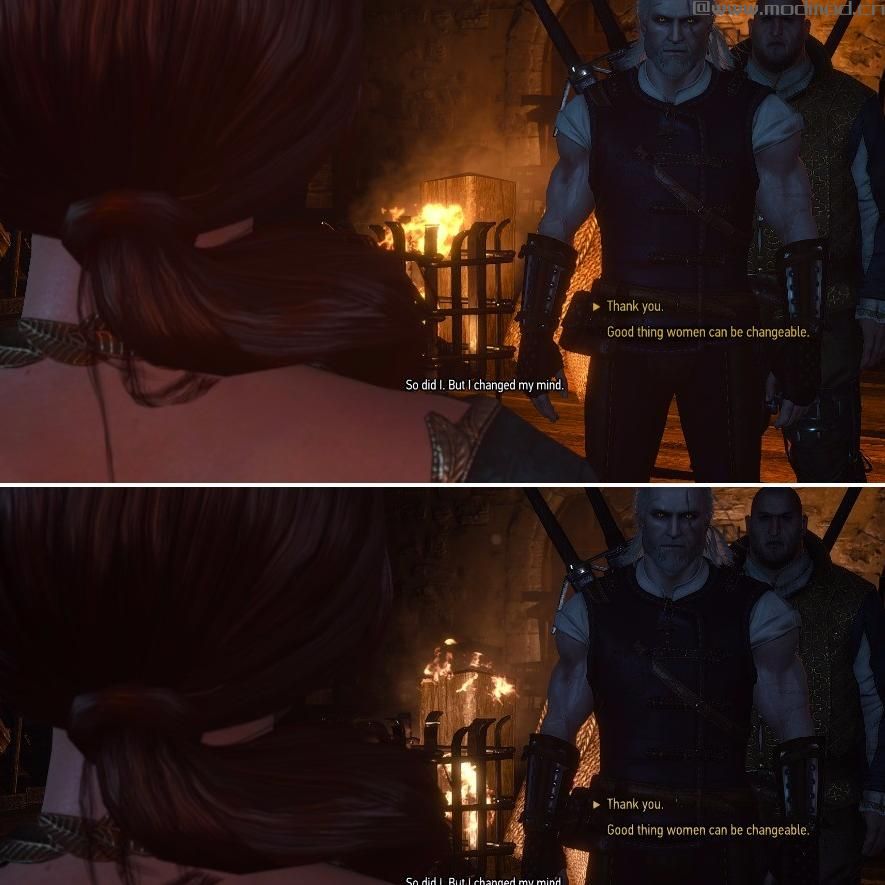
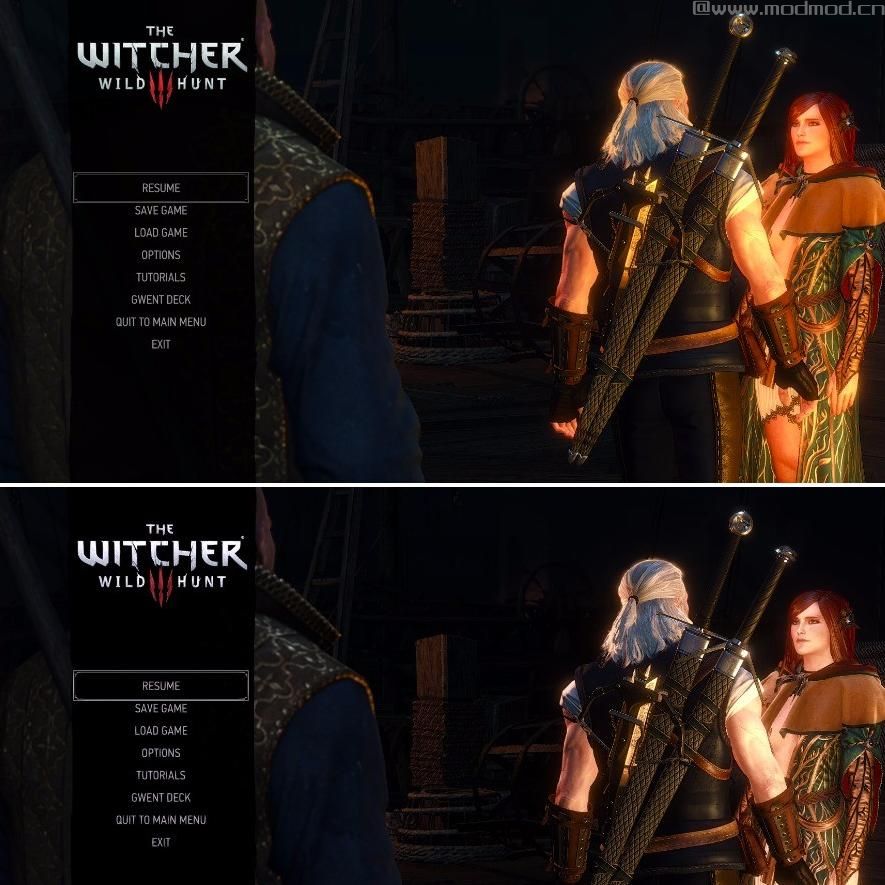
滤镜使一切更现实和坚毅,
安装
1) Select the contents of the Realistically Gritty folder (1 folder and 2 files) and copy-paste them into the following directory (will probably differ depending on where you chose to install the game): D>Arcade>Galaxy Client>Games>The Witcher 3 Wild Hunt GOTY>bin>x64
2) Create a folder named screenshots inside your game folder (or any of your choosing)
3) Right-click and open with Wordpad or (superior & freeware) Notepad++ the file ReShade.fx you just copy-pasted. Right near the top you will find a line named #pragma reshade screenshot_location "D:/Arcade/GalaxyClient/Games/The Witcher 3 Wild Hunt/GOTY/screenshots". It points to the location where the screenshots you can take with this reshade will be saved. So change it accordingly to point inside your previously created folder screenshots.
4) If everything was done properly, and I don't doubt it since it's pretty straightforward, when launching the game you will see on the top left corner of your screen some lines crediting crosire the creator of Reshade.
5) You are all done now! ;) To enable/disable the reshade while in-game you press the numlock/screelock button (together with fn if you are on a laptop). To take screenshots, you can press the printscr button.
所属游戏:
作者:Feregorn
原地址:
www#nexusmods#com/witcher3/mods/2502使用方法:
下载解压后:1、下载文件
2、将文件解压到mods文件夹中
3、运行游戏即可
演示截图:

资源查找:
最新文章
点击热榜
推荐问答
- [问答]情商课一般几岁孩子去学比较好?
- [问答]怎么看自己孩子情商低不低?孩子情商低的10大特征是真的吗?
- [问答]我想提高情商和说话要看什么书?
- [问答]顾三月情感课程pdf谁有?
- [问答]谁有情感培训课程资源?
- [问答]如何看卖情感课程正规还是不正规?
回复区
昵称:
邮箱:
内容: